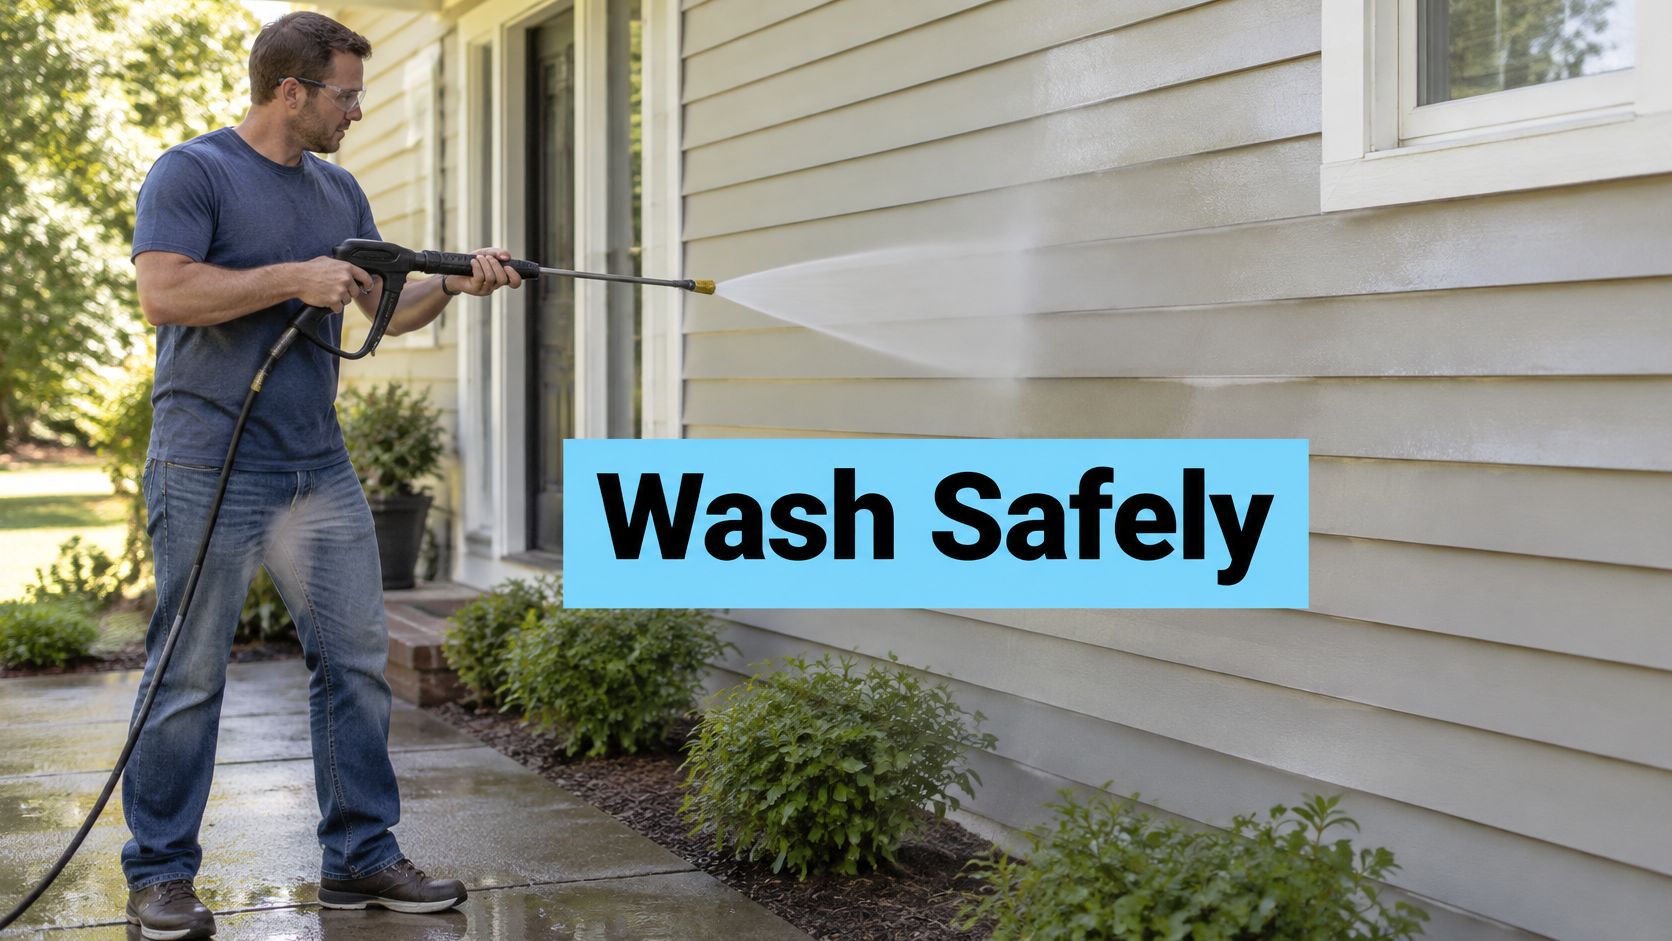
You're standing in the driveway with a rented washer, looking at gray streaks under the eaves and a dusty foundation. The dial goes higher than you expected, and turning it all the way up feels like the fast way to finish before lunch.
That instinct is how painted siding gets etched and how dirty water ends up in the street. Power washing the exterior of a house works when you match the spray to the material, hold the nozzle back, and decide where the wash water goes before you pull the trigger.
Write down the siding type, find the nearest storm drain, and open the machine manual. Those three notes decide the rest of the job.
Why Pressure Alone Will Not Clean Your Siding
A homeowner rents a unit, sets it to maximum because more pressure seems faster, and walks away with etched paint or fuzzy wood. Cleaning depends on pressure and water flow together, not pressure alone. A narrow jet can cut paint while a wider stream with enough flow rinses the dirt off.
Power washing grew out of early steam cleaning. In 1926, Frank W. Ofeldt II reportedly noticed steam from a whiskey still lifting grease, work that led to the "High Pressure Jenny." Around 1950, Alfred Kärcher introduced the DS30. By 1975, CAT Pumps piston designs could reach approximately 3,000 psi, according to a pressure washer history. A driveway machine at that level can strip painted siding.
Say the house is two stories of vinyl, faded near the gutters, dusty at the foundation. The clean result comes from a low-pressure soap rinse and a wide tip, not a pencil jet.
Practical rule: Match the machine to the material, then set the distance, then plan the water. Pressure is the last choice, not the first.
Write down the siding type and open the manual before you pick any setting.
Choose the Right Machine, Tip and Soap Nozzle
Two numbers matter on the spec plate. Psi is how hard the water hits. Gallons per minute (GPM) is how much water carries the dirt away. High psi with low GPM cuts slowly on a big wall and leaves streaks because there isn't enough flow to rinse.
An electric unit is enough for most single-family houses and is quieter to run near neighbors. A gas unit pushes more pressure and flow for a large job, but it adds engine noise, fumes, and a need for hearing protection. I would rent the smaller machine unless the wall is long and the material can take it.
Tips are color-coded by spray angle.
- White, 40 degrees: Widest fan. Safest starting tip for painted siding and glass.
- Green, 25 degrees: General cleaning once a test patch looks even.
- Yellow, 15 degrees: Stubborn grime on masonry only, and only after a patch.
- Red, 0 degrees: A pencil jet. Never use it on a house.
- Black soap tip, about 40 degrees: Applies detergent at low pressure through the injector.
Before you leave the rental counter, ask for rated psi and GPM, confirm a soap injector is in the kit, and check that the hose and wand are rated for that machine. Start with the wide tip on, pressure low, the soap nozzle in the caddy, and the trigger lock on while you connect the hose.
Safe Pressure and Distance for Each Surface
A painted wood panel and a lap seam want different treatment. A STIHL siding tutorial places painted wood, composite siding, and similar softer materials around 1,200–1,500 psi at about 18–24 inches. The same guidance keeps cedar, screens, and other delicate surfaces below about 1,200 psi, and holds general siding work at roughly 3–4 feet with the spray running across lap courses and angled slightly downward.
| Surface | Pressure (psi) | Nozzle distance | Caution |
|---|---|---|---|
| Painted wood or composite siding | 1,200–1,500 | 18–24 in | Test a hidden patch first |
| Lap siding (general technique) | Test-patch setting | 3–4 ft | Spray across and slightly downward |
| Cedar or soft wood | Below 1,200 | 24 in or farther | Excess pressure raises wood fibers |
| Window screens | Below 1,200 | 24 in or farther | Use a gentle spray only |
| Vinyl siding | Below 1,200 to start | 24 in or farther | Confirm any stated maximum in the manufacturer's manual |
| Brick or masonry | 1,200–1,500 to start; step up only if the patch allows | 24 in to start, closing in gradually | Narrow tips only if the patch allows |
The distance figures disagree for a reason. Eighteen to 24 inches is a close working range for a soft painted wall under controlled pressure. Three to four feet is the stand-off on lap courses, far enough back that water cannot drive under the overlap. Masonry is the toughest surface on the list, but old mortar and soft brick face can still scar, so the same patch rule applies. Your wall settles what no chart can.
How to run the patch
Pick a hidden corner, about one square yard, low on the wall if you have the choice. Fit the white 40-degree tip. Start at the largest safe distance and the lowest pressure that still moves dirt, then step in a little at a time. Wash a short pass, let the patch dry, and look for etching, tiger stripes, lifted paint, or water staining inside the lap.
The patch answers two questions at once. It shows whether the setting is safe, and it shows where rinse water sheets off the wall and pools at the foundation. Learn that now, while only one square yard is wet.
Vinyl and brick carry no reliable generic maximum, so treat the table's start values as exactly that: starts. If the manufacturer states a ceiling, that number wins. An even clean with no bright spots and no water pushed behind boards is a safe setting. If the patch fails, the patch wins: drop pressure, widen the fan, or back up. I would rather make two gentle passes than one pass that scars the wall.
Inspect, Protect and Gear Up Before the First Spray
A 2025 analysis of U.S. Consumer Product Safety Commission National Electronic Injury Surveillance System data estimated 11,099 emergency-department visits tied to pressure or power washers in 2025. The same analysis cited medical research covering 2012–2021 in which pressure washers accounted for 90% of high-pressure hand injection cases, per Mark Studios' review of those injury figures. Treat the wand as a tool that can cut skin.
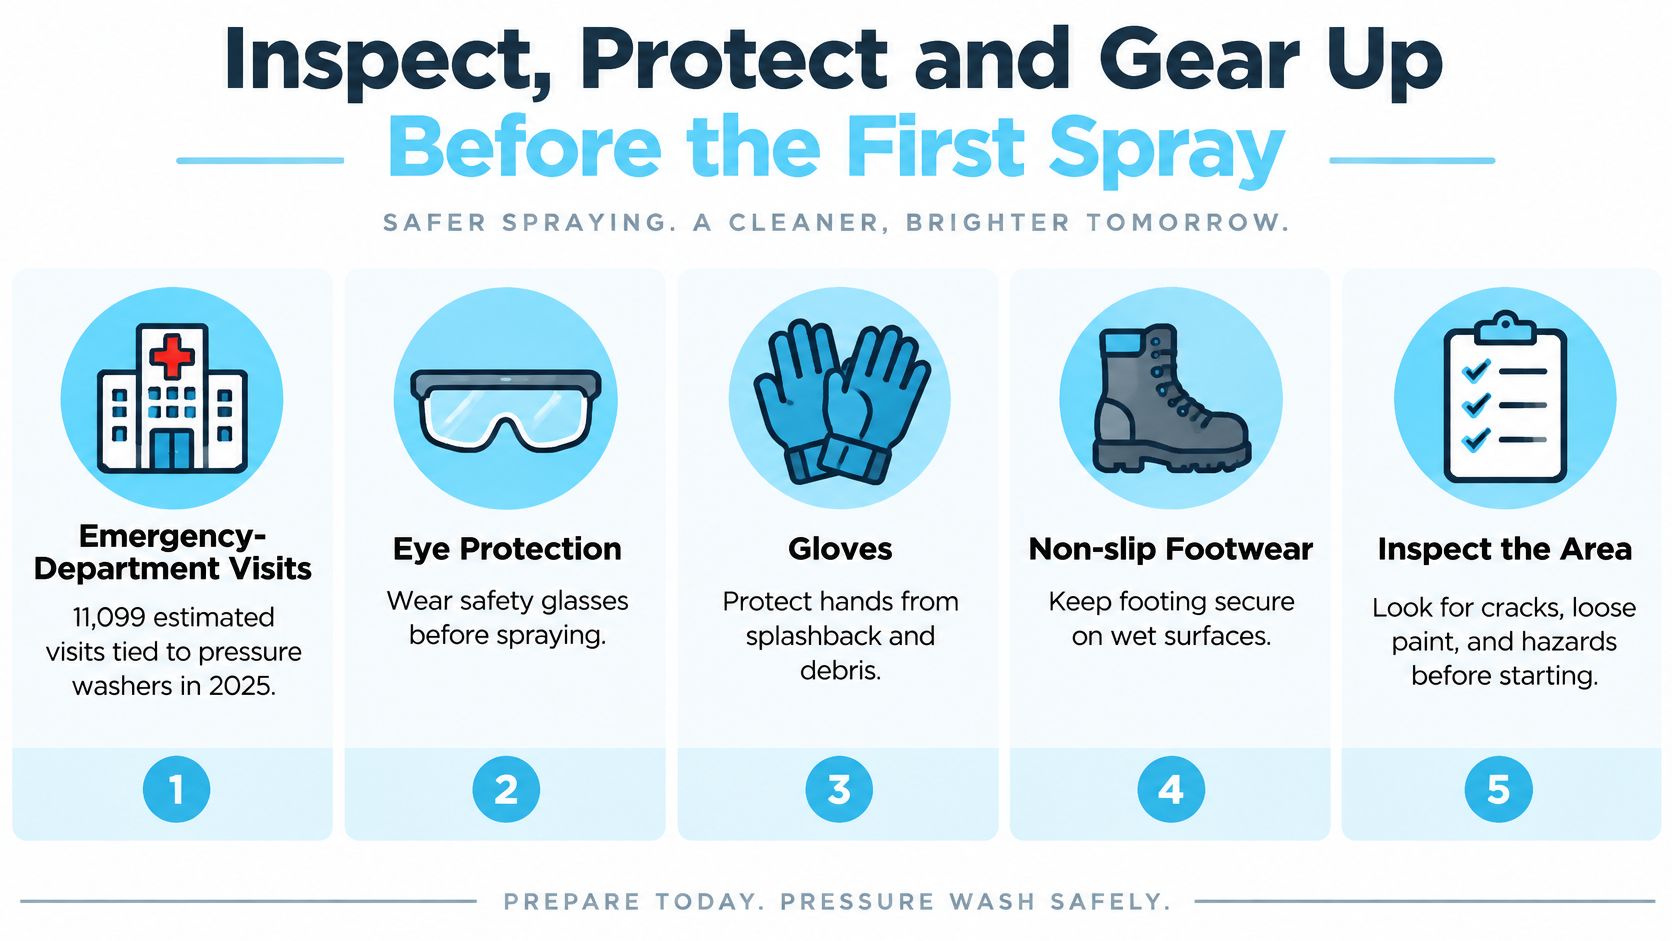
Work through this list before the first spray.
1. Walk the walls. Check siding, paint, caulk, windows, and vents for cracks or loose boards so water doesn't enter a gap you could have seen.
2. Cover power. Move or shield outdoor outlets, light fixtures, and the area around the meter. A jet into a live box is not a cleaning problem.
3. Close the house. Shut windows and doors and cover fragile screens so overspray stays outside.
4. Clear the zone. Send children and pets inside. The stream can injure skin at close range.
Wear eye protection, closed-toe non-slip shoes, and gloves. Add hearing protection if the engine is gas. Never point the wand at people, animals, or yourself, and lock the trigger between passes.
Say you're on a ladder and the gutter shifts under your hand. Stop and secure it before you continue. If you find a crack or a loose board, repair it or skip that wall until it's fixed.
Keep Runoff Out of Storm Drains
Biodegradable soap doesn't make runoff acceptable. The label describes how the detergent breaks down. It says nothing about the sediment, paint chips, and metals already on the siding. Those ride the water into a storm drain and can reach a stream without treatment.
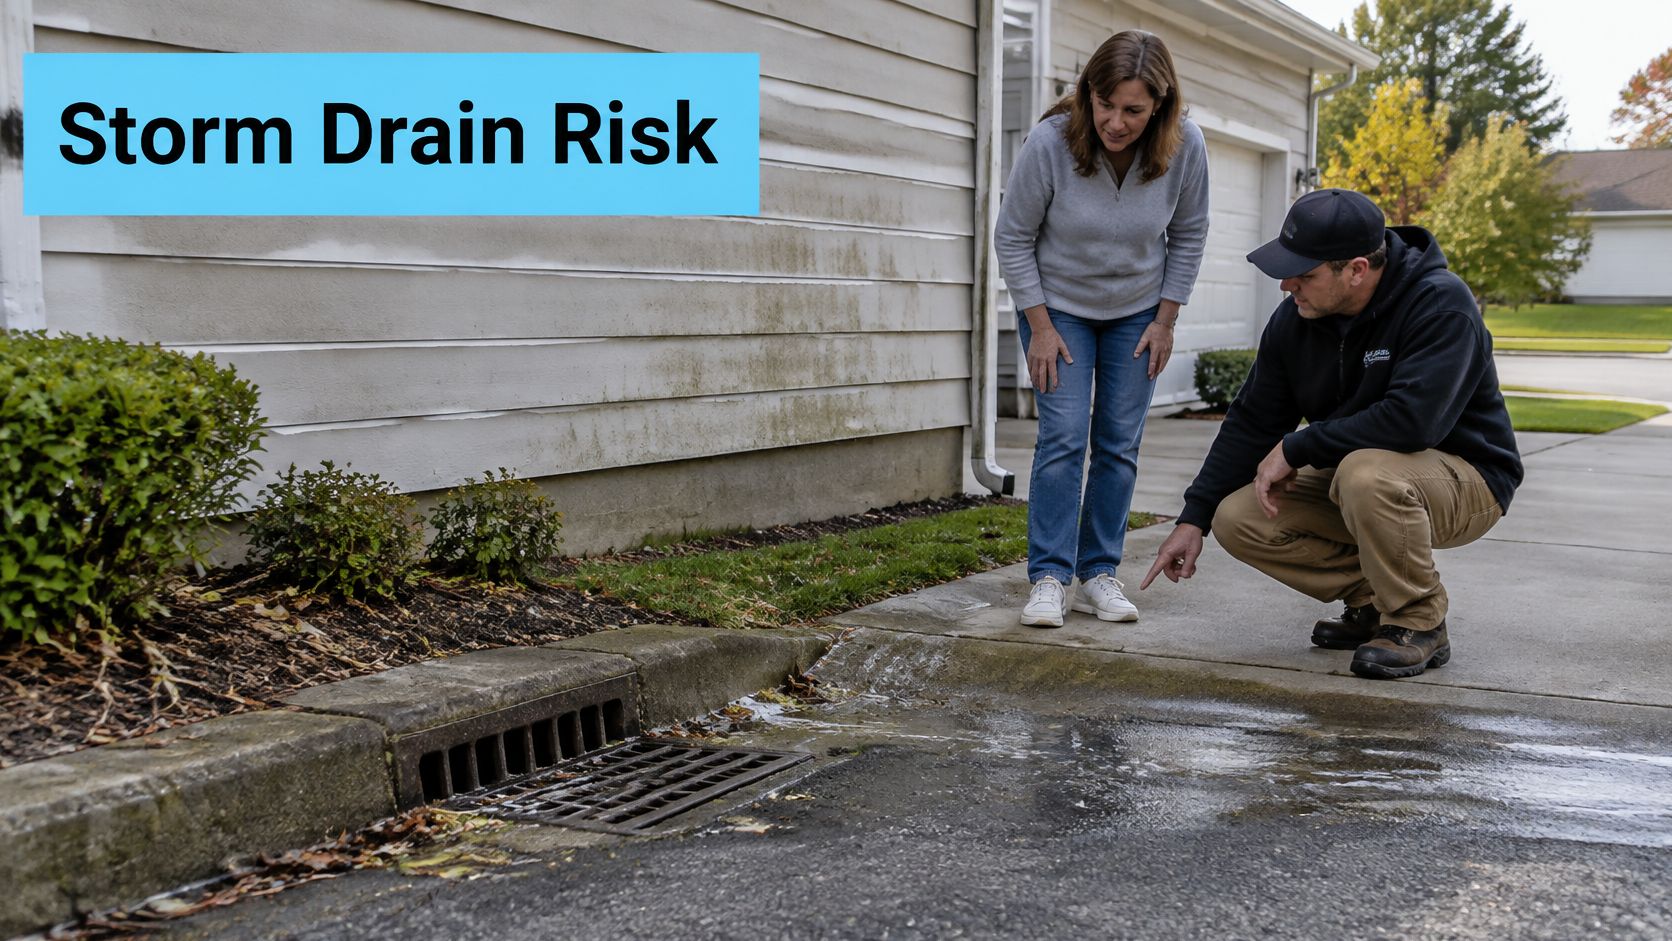
Do the survey before you mix any cleaner. Note the slope, the nearest curb inlet, and the path water would take if you did nothing. Fairfax County's pressure-washing packet treats this as a core step. It calls for dry-cleaning solids first, covering inlets, and using berms, absorbent booms, wet vacuums, or a collection system wherever runoff could reach pavement. Municipal rules commonly bar wash water, detergents, oils, and solids from streets, storm drains, ditches, and streams.
Where each kind of water goes
| Situation | Control to apply | Where the water may go |
|---|---|---|
| Loose dirt and solids on the ground | Dry-sweep or blow before any water | Trash or compost, not a drain |
| Lightly contaminated water, permeable vegetated ground nearby | Berm or hold the water on the lawn | Sheet flow over vegetation, only if local rules allow |
| Slope runs toward a storm drain or curb inlet | Cover the inlet and use booms or a berm | Collect with a wet vacuum to an approved route |
| Detergent, oil, or paint particles in the water | Collect all wash water | Sanitary sewer or another authorized disposal method |
Sheet flow means a thin spread across permeable lawn that soaks in without cutting a channel or running back to the curb. Water that carries detergent, oil, or paint doesn't get that option. It goes to a sanitary sewer or another method your town authorizes. Rules differ by city, so check local stormwater rules before you wash. A U.S. EPA industrial stormwater fact sheet on outdoor washing makes the same point for wash water that can carry sediment, detergents, oils, paint, and metals straight to waterways.
A townhouse on a slope is the common failure. The wall looks fine, and the curb inlet two doors down takes everything. A sandbag berm plus a wet vacuum stops that path. Use cleaner sparingly near plants, and dry-clean first so you move less water.
When you finish, walk the perimeter. No detergent film, no sediment piles, no paint chips, no concentrated runoff. Uncover a drain only after that check is clean.
How to Wash Your House Exterior Step by Step
Start this sequence only after the drain covers and berms are in place. If an inlet is still open, you're not ready to wet the wall.
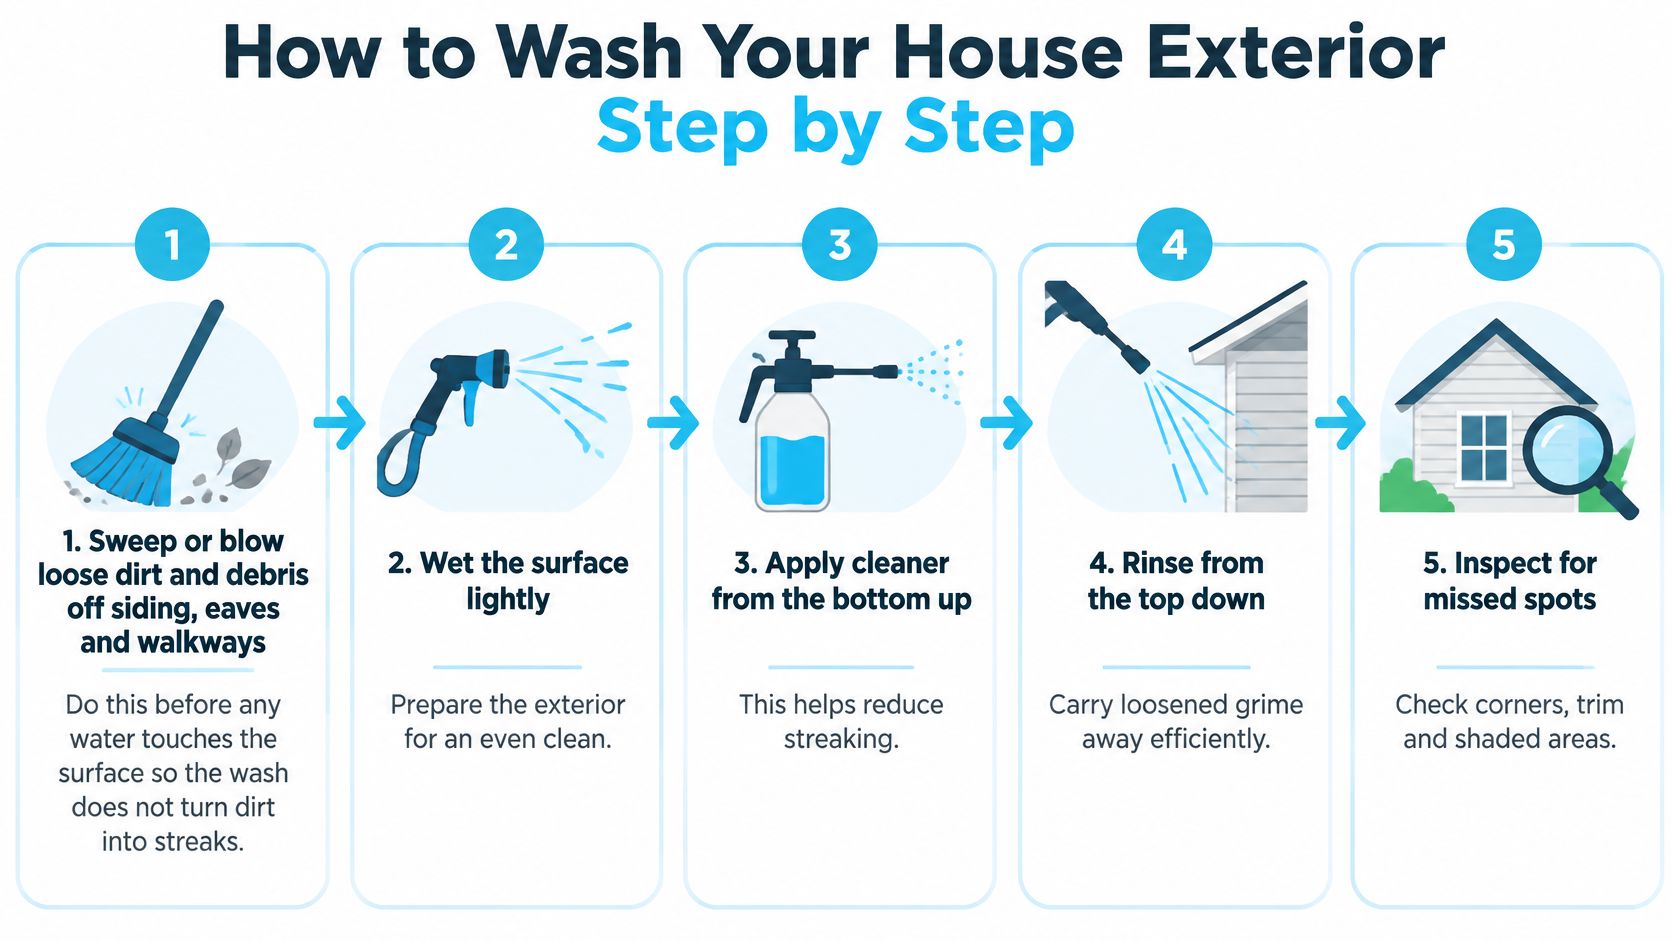
1. Dry-clean first. Sweep or blow loose dirt off siding, eaves, and walkways before any water hits. Wet grit turns into a paste that streaks and sands the paint.
2. Rinse the plants. Give shrubs and foundation beds a gentle hose soak so a little detergent doesn't sit on dry leaves.
3. Confirm the hidden patch. Spray one inconspicuous square at low pressure with the wide tip. If the dried patch shows lines or lifted paint, stop and reset before the whole wall is marked.
4. Soap from the bottom up. Apply a mild biodegradable detergent with the black low-pressure soap nozzle, starting at the base and working up. Runs then travel over wet soap instead of drying as stripes on a clean upper wall.
5. Don't let it dry. Keep the surface wet during the dwell. Detergent that bakes in sun is what leaves the lines people blame on hard water.
6. Rinse top to bottom. Switch to the wide-angle tip, spray across the siding and slightly downward, and keep the wand moving at about 3–4 feet. An upward jet forces water behind overlapping courses. Rinsing opposite the direction you applied soap helps cut streaks.
7. Catch misses while it's wet. Recheck corners, under eaves, and behind downspouts, and re-rinse any streak before it sets.
8. Close the perimeter. Walk the full edge of the house. No detergent film, no paint chips, no sediment piles. Only then uncover a drain.
What a finished wall looks like
Color is even. There are no bright water lines and no soap residue pooled at the base. If one board looks cleaner than its neighbor, you were too close on that pass, not "more thorough." Back up on the next wall.
Work across the lap and slightly down. Upward spray is how wash water gets behind the siding.
Fixing Streaks, Paint Damage and Water Intrusion
Streaks are the result you'll see most often. Detergent dried on the wall and the rinse didn't carry it off in one pass.
| Symptom | Likely cause | Fix |
|---|---|---|
| Streaks after the surface dries | Detergent dried on the wall | Keep the surface wet and rinse top to bottom |
| Paint etched or removed | Pressure too high or tip too narrow | Lower pressure, widen the tip, increase distance, and retest |
| Water behind lap siding | Upward spray across overlapping courses | Spray across and slightly downward; let the wall dry before judging |
| Torn screens or fuzzy soft wood | Excessive pressure | Stay below about 1,200 psi and replace screens or sand the wood |
| Detergent film on pavement | Residue left after rinsing | Rinse with clean water and collect before it reaches a drain |
What you can fix today
A streak on a still-wet wall is a one-pass fix. Re-wet the area, keep it wet, and rinse from the top down with the wide tip. Don't add more soap to a streak. That's how the line gets longer.
Etched or lifted paint means the last setting was too hot or the tip was too narrow. Drop the pressure, fit the wider tip, increase distance, and retest on a hidden patch before you touch another board. If paint has already come off, stop washing that area. Wait until it's fully dry, then plan a touch-up. Washing the bare spot again only lifts more film.
What needs drying time
Water behind lap siding doesn't show its full damage in the first hour. Spray across and slightly downward from here on, and give the wall a day or two before you decide whether water got in. Soft, swollen trim or a musty smell at an outlet means you wait, not that you rinse harder.
Torn screens get replaced, not "rinsed gentler next time." Fuzzy cedar or other soft wood comes from pressure that lifted the grain. Let it dry, sand the raised fibers, and repaint. That isn't a same-afternoon repair.
Detergent film on the driveway is still a disposal problem. Rinse it with clean water and collect that water. Leaving it for the next rain sends it to the inlet you covered this morning.
Decide Whether to DIY or Hire a Crew
DIY is reasonable on a single-story house with a flat, clear work area, a test patch that passes, and a rented machine you understand. The deciding factor is usually water. If you cannot keep wash water off the pavement and out of the nearest drain, you do not have a DIY job, no matter how simple the siding looks. Budget time for the walk-around before the first spray and the perimeter check after the last rinse.
Hiring makes more sense when the house is multi-story, the siding is cracked or loose, a storm drain sits directly under the work, or the job needs collection gear you do not have. Even biodegradable detergent leaves runoff that has to go somewhere other than the inlet, because the water still carries dirt and paint residue. Glow Cleaning Company offers power washing alongside routine home and office care, carpet cleaning, and junk removal, and arrives with its own equipment and products so you do not need to supply a machine or chemicals.
Before you book or rent, write down the siding material, the number of stories, the nearest storm drain, and any cracked trim. Ask whoever you hire to explain their runoff controls before you set a date.
---
Glow Cleaning Company handles exterior power washing for homes and commercial properties in Fall River and nearby communities, and its online booking collects your property details and calculates a flat rate without an initial walkthrough. If the ladder, the storm drain, or the siding condition is more than you want to manage this weekend, request a visit through the company's website and include your notes on siding type and the nearest inlet so the quote matches the house you have.