
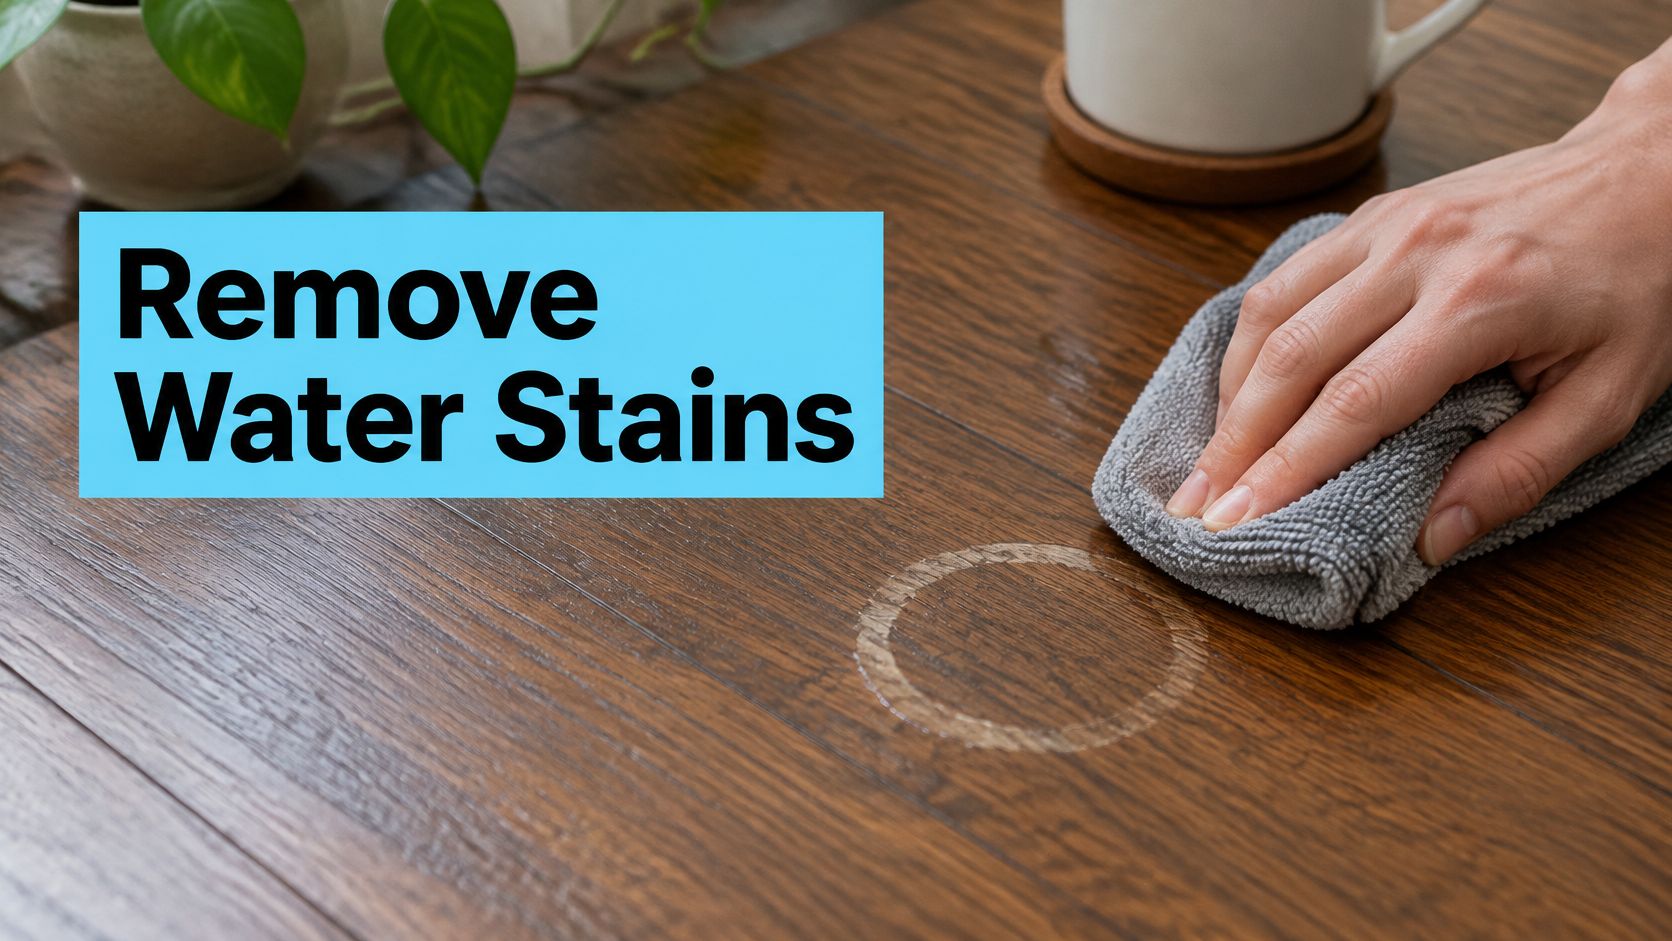
The plant has been in the same corner for a year, and when you finally lift the pot there's a pale ring pressed into the oak. Or the ice bucket sweated through a summer party, or the fridge water line has been dripping behind the cabinet since spring and the first sign was a dark patch near the toe kick. All three end the same way: someone on their knees with a cloth, deciding how hard to scrub.
Scrubbing is where a small mark becomes an expensive one. Water damage accounts for about 22% of hardwood-floor repairs in the United States, according to a 2024 article citing National Wood Flooring Association data, and the difference between a ten-minute fix and a contractor's invoice usually comes down to one decision made in the first minute. Not which product. Which kind of mark you're looking at.
Classify the Mark Before You Touch It
A mark that appears after a leak, an overflow, or a wet pot is not automatically a stain in the wood. The same pale ring can be moisture trapped in the topcoat or water that has already traveled into the fibers, and those two problems have almost nothing in common beyond their shape. Sort the mark before you buy anything.
| Appearance | Likely depth | First move |
|---|---|---|
| White, cloudy or hazy ring | Moisture trapped in or under the finish | Dry the area, then try a gentle steel wool and wax test in a hidden spot |
| Gray or black discoloration | Water has penetrated the wood, possibly with a tannin or iron reaction | Dry fully and assess before sanding or applying any product |
| Fresh spot with flat boards | Surface film or top layer of the finish | Vacuum, blot with microfiber, then test a finish-approved cleaner |
| Cupping, buckling, soft spots or musty smell | Moisture below the boards, possible delamination or mold | Stop treating the mark, dry the room and call a flooring professional |
Read the rows as decisions, not descriptions. The first row is the one that answers to a ten-minute fix at home. The second row is the one where cleaning brightens the wood around a mark but leaves the mark itself, because the color sits in fibers no cloth can reach.
Three Checks With Your Eyes and Hands
- Look at it low and sideways. Turn off the overhead light, hold a flashlight almost flat to the floor, and move it. A mark that shifts or fades as the angle changes is sitting in the finish. One that looks identical from every angle has gone into the wood.
- Run a fingernail across it. A mark that catches your nail is raised in the film. A mark that feels flush is below it.
- Press the boards at the edge of the area. Any give, rock, or rough seam means water is still in the wood, and the cosmetic question is now secondary.
The NWFA consumer guide to real wood floors draws the same line: a pale or cloudy mark often means moisture trapped in or beneath the finish, while a dark mark may mean the water has penetrated the wood. It also sets hard limits worth repeating. Skip bleach, ammonia, abrasive powders, aggressive sanding and household steam, because each can strip finish, shift color, or enlarge the damaged area. Keep the room near 60 to 80°F and 30 to 50% relative humidity while things dry, since stable conditions keep the boards from moving. And treat any "90% removal" promise with suspicion. No credible source puts a number on household stain removal, because the outcome depends almost entirely on whether the mark is in the finish or under it.
A dark mark, or any board that moves under your hand, sends you straight to the decision table before a cloth touches the floor.
Dry the Floor Before Any Cleaning
The ring you can see is only the part of the problem that reached the surface. Water that caused it may still be sitting in the seams, beneath the finish, or in the subfloor, and any cleaner you apply now is working on a moving target. The first hour matters more than the first product.
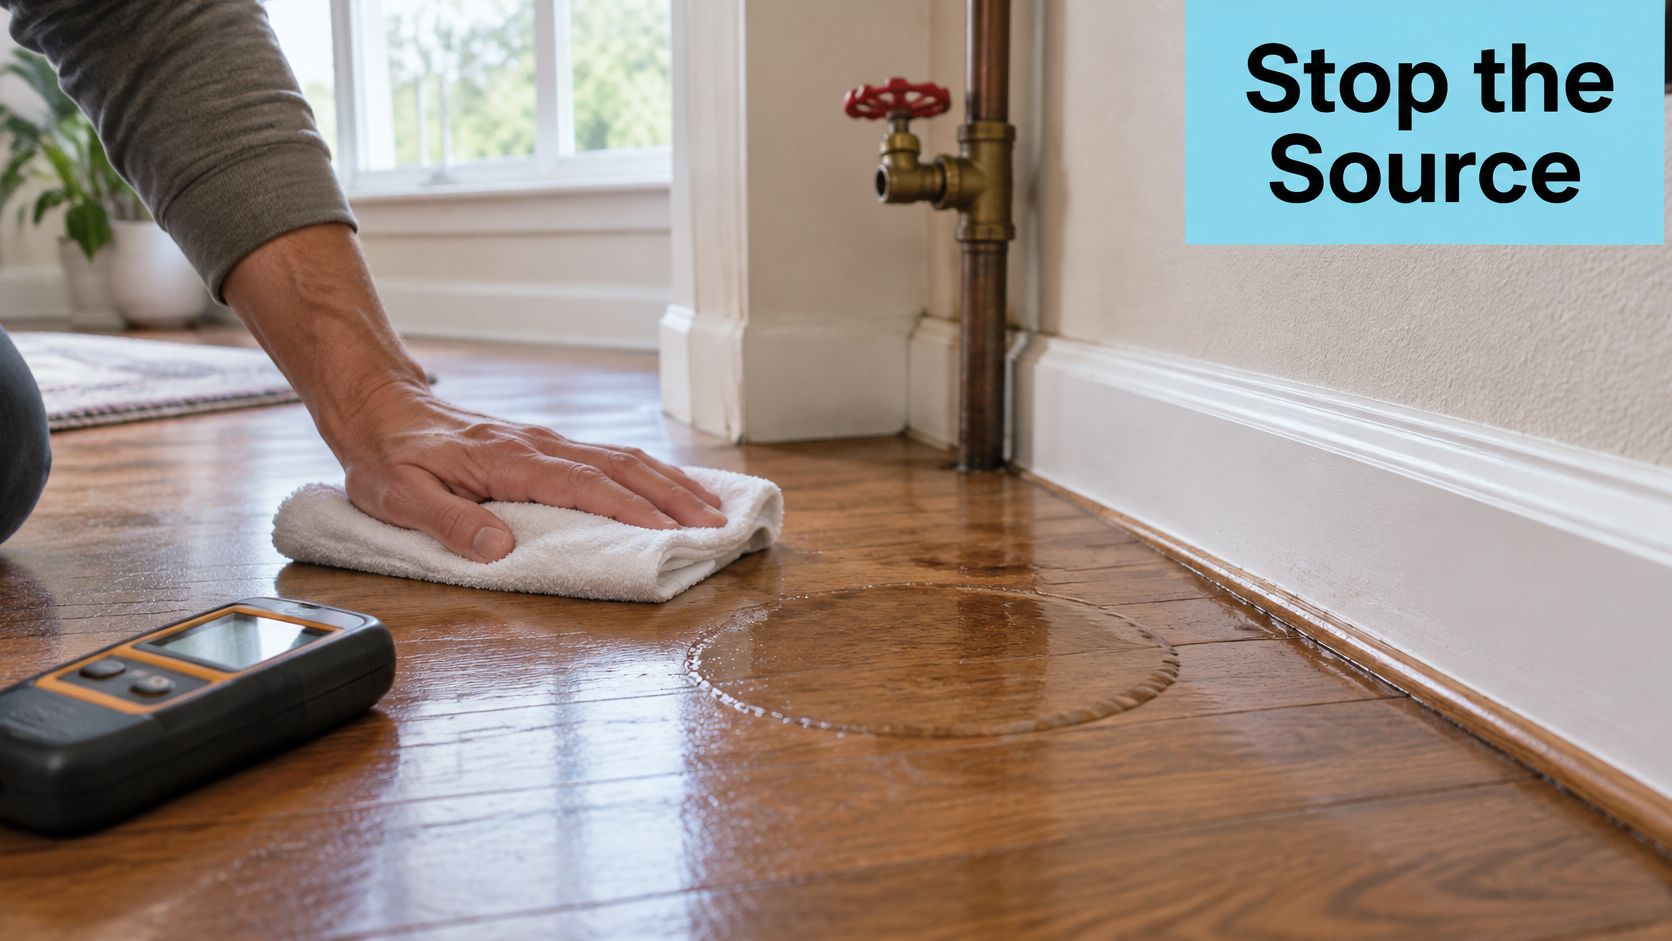
Here's the order that works, with the reason attached to each step.
1. Stop the water. Close the supply valve, reseat the dishwasher seal, move the pot onto a tray. Every later step is wasted while fresh water keeps arriving.
2. Pull up standing water. Towels or a wet-dry vacuum, pressing down rather than wiping across, so you lift moisture instead of pushing it into seams.
3. Clear the floor. Rugs and furniture off the area, so air can reach the boards on every side.
4. Move air and pull humidity down. Stanford Environmental Health and Safety guidance calls for correcting the moisture source immediately and removing moisture with dehumidifiers, fans and gentle heat, with a caution that heat has to be used carefully on hardwood. A University of California, Riverside restoration procedure sets a firmer milestone: clear the room, extract as much water as possible, and get commercial dehumidifiers or fans running within 72 hours of the incident.
5. Skip the hair dryer and the space heater. North Dakota State University warns that wooden floors should dry gradually, because sudden drying cracks or splits boards. The same guidance says not to refinish until the floor is thoroughly dry, and that badly warped hardwood commonly can't be repaired at all.
6. Check daily. Cupping at the seams, a musty smell, or a soft spot underfoot means the moisture is not handled yet.
7. Wait before you treat. Cleaner and sandpaper come after thorough drying, never during.
If you own a moisture meter, compare the stained board against a dry board a few feet away. A reading that stays higher after several days tells you the drying isn't finished, no matter how dry the surface feels.
Treat the Mark Step by Step and Avoid Costly Mistakes
Every water mark falls into one of two rows, and the row decides what you do next. A finish-level mark is white or cloudy, moisture trapped inside the topcoat. A wood-level mark is gray, dark or black, moisture that got past the film and into the fiber itself. The sequence below treats the first row. A dark stain on a flat, dry board is past what spot treatment can reach, and the honest answer there is sanding or refinishing.
Two conditions have to be true before you start: the boards are flat and the floor has been thoroughly dry for several days. If either fails, every step here is the wrong tool and no amount of care will save you.
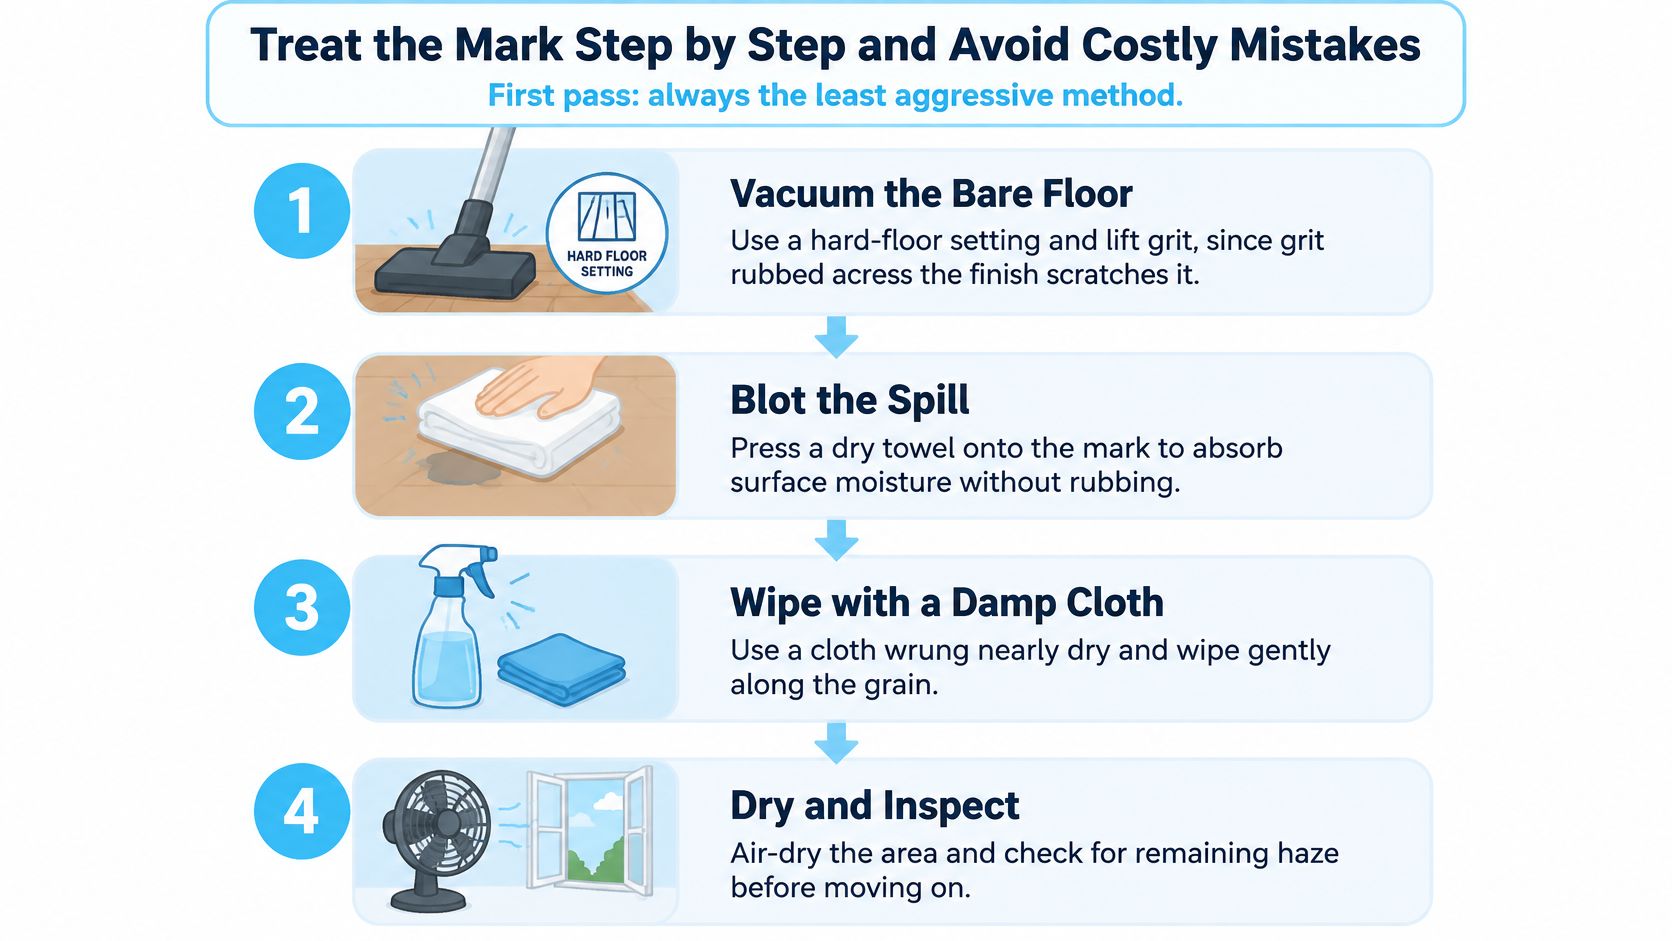
1. Vacuum the bare floor first. A hard-floor head or soft brush, no beater bar. Grit left on the surface gets dragged across the finish the moment you start rubbing, and those scratches outlast the stain.
2. Blot, never scrub. A dry or barely damp microfiber cloth, pressed onto the mark and lifted. Scrubbing piles friction damage onto a moisture problem.
3. Test in a closet. Put a pH-balanced cleaner approved for your finish on a hidden board under a rug edge, let it dry completely, and look at the sheen. The NWFA Homeowner's Handbook puts the order the same way: bare-floor vacuum, gentle blotting, then a finish-specific product applied to the cloth rather than the wood, in a small section, dried immediately.
4. Work from the outer edge inward. Start at the rim of the mark and move toward the center, so discoloration doesn't get pushed into clean boards around it.
5. Keep product off the wood. A little cleaner on the cloth, one small section at a time, dried right behind it. The floor should never look wet.
6. For a white ring, go finer before you go stronger. Rub gently along the grain with #000 steel wool, the fine grade, then apply a matching paste wax and hand-buff. Done lightly, this lifts haze out of the topcoat without cutting through it.
7. Judge once, and only when dry. A mark still visible on a damp board may fade as the film cures. Wait for it.
What Undoes a Good First Pass
The failure cases are consistent, and most come from reaching for something stronger too early.
- Bleach, ammonia and scouring powder. They strip finish and shift color, and the repair becomes a refinish.
- Steam mops and wet mops. The NWFA advises against both, because repeated or excessive moisture damages the finish and the wood underneath. A damp mop run over a ring often leaves a second ring on the same board.
- Household chemistry. Toothpaste, mayonnaise, vinegar, baking soda, peroxide and oxalic acid circulate as fixes with no distinction between finish-level haze and wood-level damage, which is why results are unpredictable. Patch-test at most, and never layer them.
- Buffing in circles. It leaves a visible swirl in the sheen that no cleaner will take out.
- Heat on a cupped board. A hair dryer aimed at cupping dries the surface faster than the underside and can split the board, and sanding before moisture levels stabilize can create crowning.
The stop rule: if a treatment makes the mark bigger, patchier in color, or rougher to the touch, you're past what a spot treatment can fix. Dry the floor, photograph the area, and stop.
Some "water marks" turn out to be residue rather than damage. Old polish, cleaner buildup and traffic soil bake into a dull patch that reads as moisture and wipes away with a pH-neutral product on a barely damp cloth. A general cleaning of the whole room is often the cheapest way to find out which marks are real, because once the film is gone you can see the finish clearly. Whatever is still standing after that belongs to the finish or the wood, and now you know which row you're working.
Success looks like a slightly duller but even sheen where the ring used to be, with no halo at the edge of the treated area. A bright rim outlining your work means you removed the mark and altered the finish around it, which is a repair of its own.
Escalating Safely for Stubborn Finish Marks
A mark that survives the first pass forces a decision, and the decision comes from the triage row, not from frustration. A white or hazy ring is finish-level, and the escalation ladder below applies to that row only. A dark stain sits in the wood itself, and no rung on this ladder reaches it. Sandpaper enters the picture after you confirm which row you're working, because it's the right tool at the wrong stage for most marks.
Tell the Finish By Watching Water
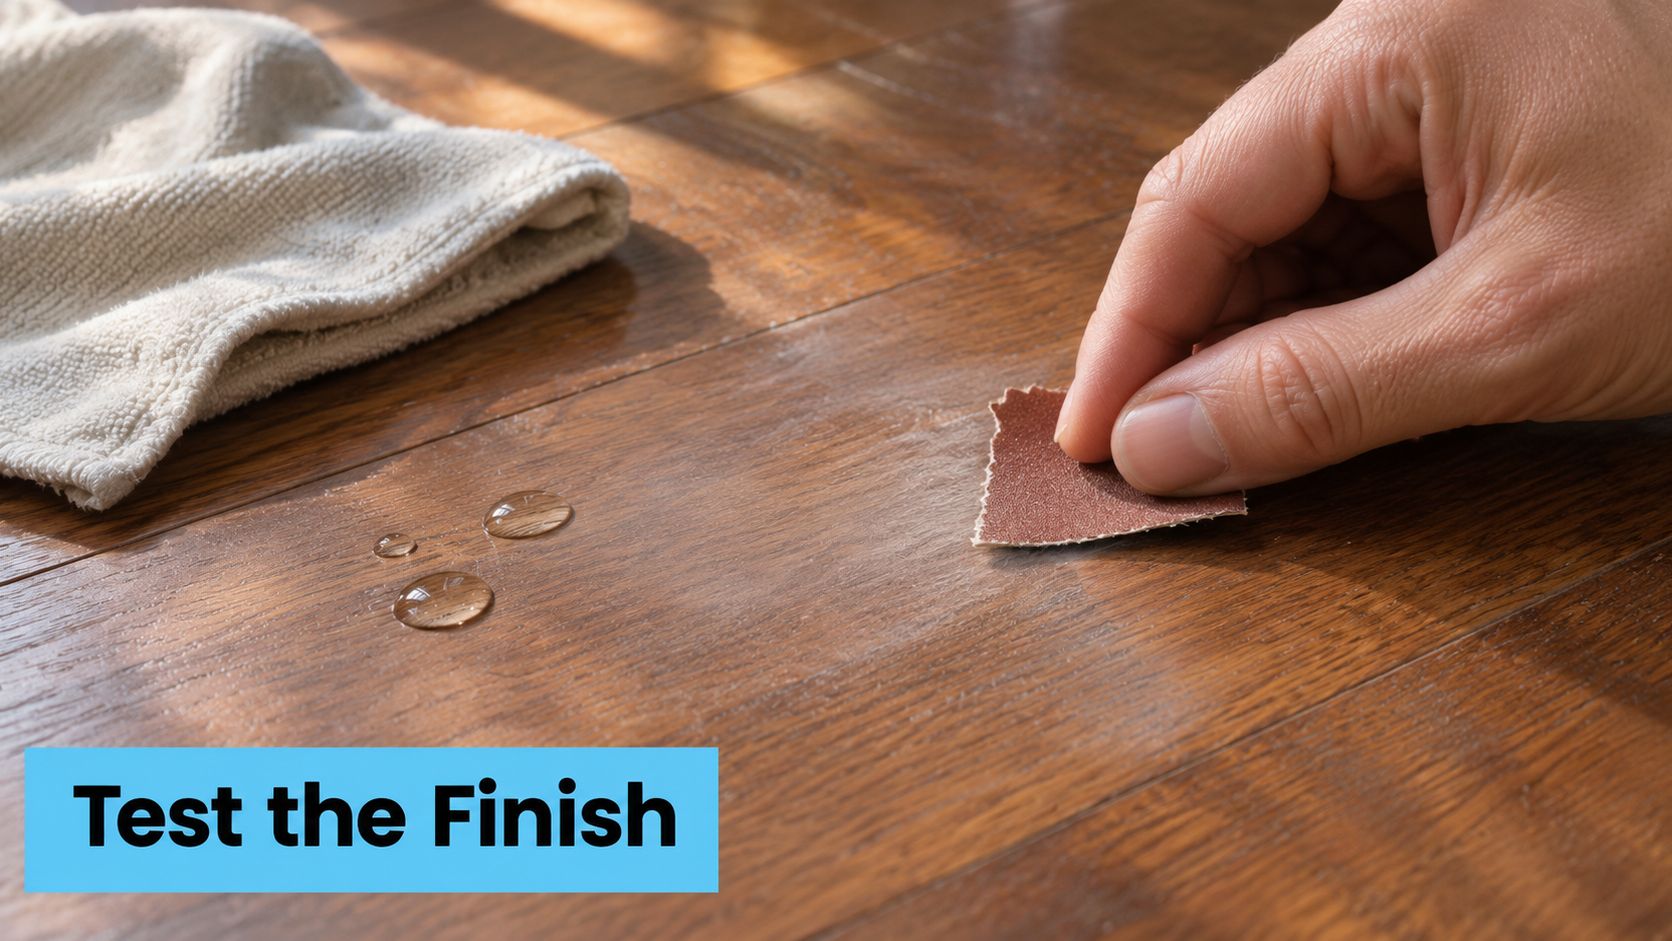
Before climbing the ladder, identify what's sitting on top of the wood. Put a drop of water on an inconspicuous board and watch it for a minute. If it beads and sits up, you have a surface film, typically polyurethane or a factory urethane. If it darkens the wood and soaks in, you have an oil, wax or penetrating finish, and every abrasive step is riskier because there's less film to give up before you reach bare fiber.
Rung one is the finish-specific product. Cornell Cooperative Extension's hardwood floor maintenance guidance is blunt about urethane: floors with urethane finishes need a cleaner formulated for urethane, and a persistent mark may need a scrub pad rated as compatible with that finish. Wrong product, wrong pad, and you've added a dull spot to a water spot.
Rung two is #00 steel wool with mineral spirits or a wood-floor cleaner, followed by thorough drying before any stain, wax or hand buffing. The grade is the detail people skip. #000 is the finer wool for controlled surface work like the wax step on a white ring. #00 is coarser and belongs to a cleaning or preparation stage, not a polish.
Rung three is light sanding with fine sandpaper, and it has one rule: stay inside the mark. Limit the pass to the affected area, feather the edges, and reassess after each pass rather than sanding the whole board to make the spot disappear.
That last rung is where the money goes. Sand through the finish and you expose raw wood, which turns a spot treatment into a screening or refinishing job across the room, and no cleaner recovers a sheen you've sanded off. My cutoff is bare fiber: if the mark sits below an intact finish, or a sanding pass would reach raw wood, the work belongs to a flooring professional.
There's also a sequencing argument for cleaning the whole room before you escalate on one spot. Built-up film on surrounding boards makes any treated patch look darker and duller than it is. A deep cleaning that covers baseboards, vents and hard-to-reach areas strips that film off the boards around the mark, giving you an honest look at what's left before anyone touches it with abrasives.
Decide Whether to Treat It Yourself or Call a Pro
Four conditions cover almost every case, and two of them lead to the same answer.
| Floor condition | Action | Cost signal |
|---|---|---|
| Surface haze on a flat, fully dry floor | Treat locally with the steps in the treatment section | Do-it-yourself supplies only |
| Dark stain that persists after one treatment and full drying | Refinishing or board-level assessment by a professional | Professional screening or refinish quote for the room |
| Cupping, cracks, splits or soft spots | Professional assessment; do not refinish yet | Typical water-damage flooring repair runs $200 to $3,000 per room, per Angi's cost data |
| Flood or contaminated water | Specialized remediation before any stain work | Remediation quote before any cosmetic work is priced |
Cost is the clearest way to see the fork in the road. A spot treatment costs a bottle of finish cleaner and an hour of your time. A room-level repair is a contractor's invoice, and Angi's figures show how wide that spread runs depending on flooring material and how much moisture the boards took on.
Frequency explains why the fork matters. In a 2024 industry survey, more than 50% of National Wood Flooring Association contractors identified moisture claims as a top customer complaint, according to reporting on that survey. These aren't rare events. They're the routine reason floors come up for repair.
Document before anyone starts. Photos from several angles, the date you found it, the source of the water, and any moisture readings give a professional a real baseline and give an insurer something to work with.
1. Photograph the mark in daylight, at an angle, with something for scale.
2. Fix the water source before any cosmetic step.
3. Dry the floor for several days, with air moving and humidity controlled.
4. Run the hidden-area test on the product you intend to use.
5. Choose the table row that matches what you see, and follow only that row.
Structural symptoms, meaning cupping, splits, soft spots or a smell that won't clear, belong with a flooring specialist rather than a routine cleaning service like the cleaning services we provide. If the mark turns out to be surface residue, customers can ask our team to use their preferred specialty cleaners for delicate surfaces, which is the safer route on a finish you'd rather not gamble on. Whatever the outcome, write down what you used and when. It's the difference between a professional picking up where you stopped and starting from scratch.
---
If the ring under the pot turns out to be film and residue rather than damage, Glow Cleaning Company can take the floor from there, with professional-grade products, microfiber cloths, and HEPA vacuums, and a finish-appropriate approach to the boards rather than a wet mop. We serve homeowners across Fall River, Taunton, Attleboro, New Bedford, Dartmouth and the surrounding Massachusetts and Rhode Island communities, and our teams bring their own equipment and supplies so you don't have to source anything. Visit Glow Cleaning Company to book a general cleaning or a deep clean, or to ask about specialty products for a delicate finish.